

Building a RESTful Web Service
参考链接:https://spring.io/guides/gs/rest-service/#scratch
This guide walks you through the process of creating a “Hello, World” RESTful web service with Spring. 跟着指导来构建 Spring Hello World。


首先指出目标:我们要创建的是什么?是一个服务,接收 HTTP 的 GET 请求,请求参数在 url 后面。这个服务以 JSON 的方式来表达响应的格式,如:
{"id":1, "content": "Hello, World!"}并且服务还包括:我们可以个性化定制问候,通过在请求(query)的时候传递 name 参数,如:
http://localhost:8080/greeting?name=User这个名字参数会重写默认值“World”,并且在响应的时候替换掉它,就像这样:
{"id":1, "content": "Hello, User!"}你需要付出什么,一点时间+好用的工具+Java等版本:


怎么完成这个 Java Springboot RESTful web 服务的入门指南呢?可以直接下载好的包。但是本好奇宝宝当然要尝试 from scratch 的版本咯。


From scratch 动手啦:Starting with Spring Initializr
You can use this pre-initialized project and click Generate to download a ZIP file. This project is configured to fit the examples in this tutorial. 可以选择直接下载官方搞好的 zip。
To manually initialize the project: 那手动来做:
- Navigate to https://start.spring.io. This service pulls in all the dependencies you need for an application and does most of the setup for you. 在这个网页上可以配好需要的一切。
- Choose either Gradle or Maven and the language you want to use. This guide assumes that you chose Java. Language 这里选 Java。
- Click Dependencies and select Spring Web. 依赖这里添加 Spring Web。
- Click Generate. 点击生成。
- Download the resulting ZIP file, which is an archive of a web application that is configured with your choices. 下载压缩包。
| If your IDE has the Spring Initializr integration, you can complete this process from your IDE. |
| You can also fork the project from Github and open it in your IDE or other editor. |
界面长这样:


Create a Resource Representation Class 创建一个资源类
Now that you have set up the project and build system, you can create your web service.
既然已经设置好了项目,构建好了系统,你可以创建 web service 了。
Begin the process by thinking about service interactions. 让我们来思考一下这个服务的互动。
The service will handle GET requests for /greeting, optionally with a name parameter in the query string. The GET request should return a 200 OK response with JSON in the body that represents a greeting. It should resemble the following output: 它接受 GET 对 “/greeting” 的请求,可以用一个 name 参数。这个 GET 会返回一个 200 代码表示响应成功,并把在 body 里的 JSON 返回回来。应该是下面这样的:


这个 id 字段是对每次 greeting 的唯一标识,content 字段是 greeting 内容的文本。
为了建模,来创建一个 资源表征类。为 id 和 content 提供一个类,就像:


This application uses the Jackson JSON library to automatically marshal instances of type Greeting into JSON. Jackson is included by default by the web starter. 很不错,这个 web starter 启动器,会帮我们自动的去将 Greeting 实例转化成 JSON。
Create a Resource Controller 新建一个资源控制器


在 Spring 构建 RESTful web 服务方法里,HTTP 请求被 controller 来管控。这些组件会被 @RestController 注解标识。这个 Controller 如下所示,它接收到 对 ”/greeting“ 资源的请求后返回一个 Greeting 类型的新实例。
[为什么我手敲导包的时候没有提示呢。。会不会哪里错了。。]


controller 看似简洁,但是其实里面大有乾坤。我们可以一步一步看一下。
@GetMapping 注解保证 HTTP 协议发起 GET 请求到 /greeting 的时候,会被映射(匹)到 greeting() 方法。 「还有很多为 HTTP 动作设计的同伴注解,比如 @PostMapping – POST 请求;@RequestMapping – 是他们的爸爸,可以这样用 @RequestMapping(method=GET) ,是同义的用法。」
@RequestParam binds the value of the query string parameter name into the name parameter of the greeting() method. If the name parameter is absent in the request, the defaultValue of World is used.
@RequestParam 把请求的值 name 和 greeting 里的 name 参数绑定起来,如果没有 name,就会用默认的值。
The implementation of the method body creates and returns a new Greeting object with id and content attributes based on the next value from the counter and formats the given name by using the greeting template.
这个方法呢,又做了新的 Greeting 对象的创建和返回,把 id 用 counter 来递增,设置,内容,则用 name 和 greeting 模版匹配好。
A key difference between a traditional MVC controller and the RESTful web service controller shown earlier is the way that the HTTP response body is created. Rather than relying on a view technology to perform server-side rendering of the greeting data to HTML, this RESTful web service controller populates and returns a Greeting object. The object data will be written directly to the HTTP response as JSON.
一个关键的区别于以往的 MVC controller,RESTful web service controller 表达了更简单的 HTTP 响应体的创建。相比较于依赖一个 view 视图层去做服务端的 greeting 数据渲染给 HTML,这个 RESTful web service controller 直接建了一个并返回 Greeting 对象。这个对象数据会以 JSON 格式 作为返回对象直接给到 HTTP。
This code uses Spring @RestController annotation, which marks the class as a controller where every method returns a domain object instead of a view. It is shorthand for including both @Controller and @ResponseBody.
这个代码用了 Spring 的 @RestController 注解,这个注解标识了这个类是作为 controller 的,也就是每一个方法都返回一个主要的对象而不是试图。这个注解是包含了 @Controller 和 @ResponseBody 的简写。
The Greeting object must be converted to JSON. Thanks to Spring’s HTTP message converter support, you need not do this conversion manually. Because Jackson 2 is on the classpath, Spring’s MappingJackson2HttpMessageConverter is automatically chosen to convert the Greeting instance to JSON.
Greeting 对象必须要转化成 JSON。感谢 Spring 的 HTTP 消息转化支持,你再也不用手动地去做这个转换。因为 Jackson 2 在 类路径 中,然后 Spring 的 MappingJackson2HttpMessageConverter 会自动被选中去完成 对象转 JSON。


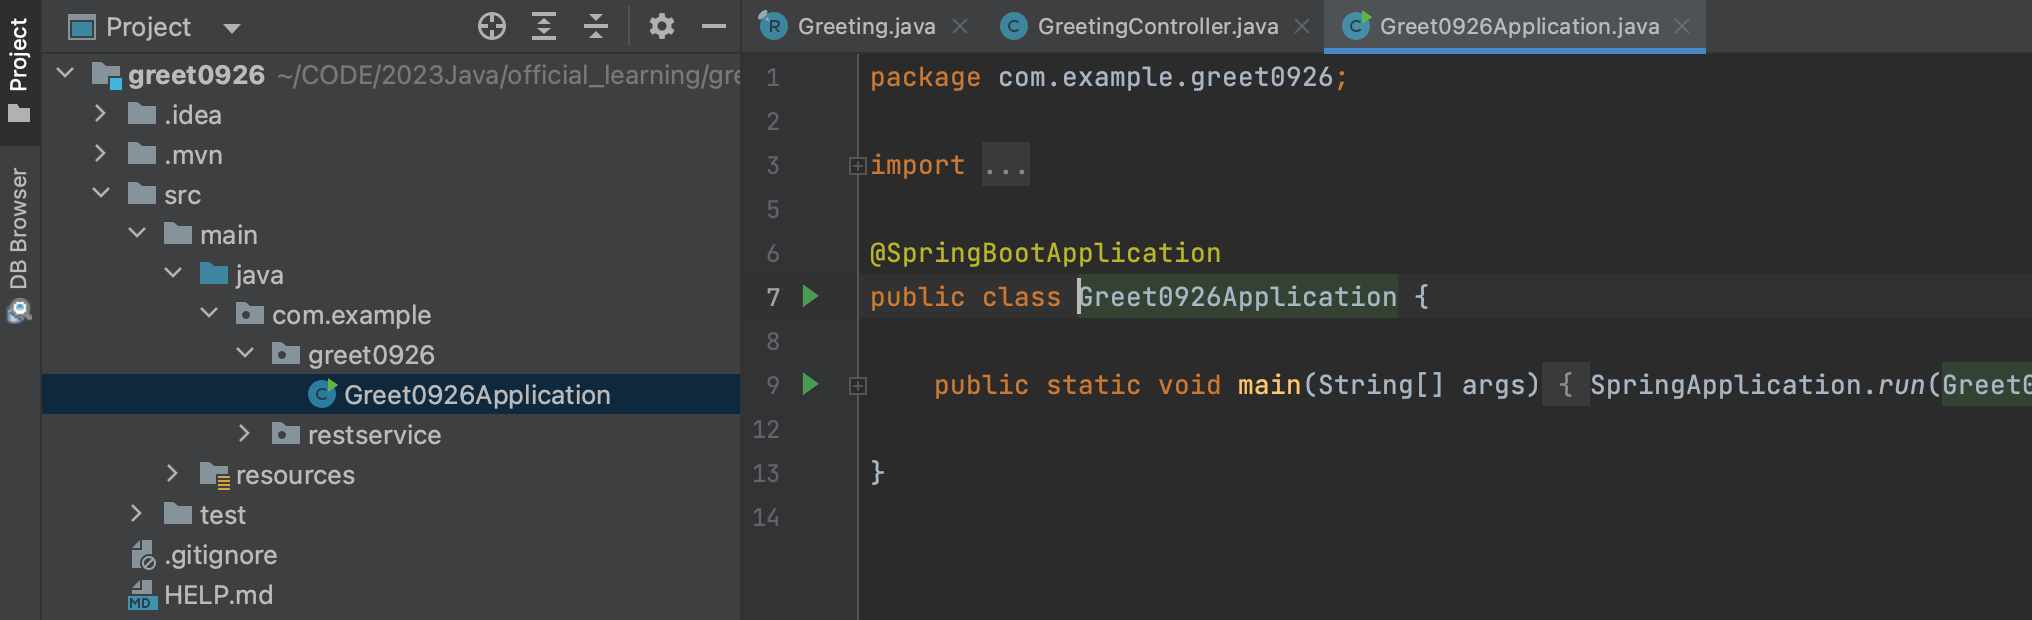
@SpringBootApplication is a convenience annotation that adds all of the following: 解压后自带的,main 函数在的这个类里,加上的注解 @SpringBootApplication 是一个很方便的注解,做了如下的动作:
@Configuration: Tags the class as a source of bean definitions for the application context.@EnableAutoConfiguration: Tells Spring Boot to start adding beans based on classpath settings, other beans, and various property settings. For example, ifspring-webmvcis on the classpath, this annotation flags the application as a web application and activates key behaviors, such as setting up aDispatcherServlet.@ComponentScan: Tells Spring to look for other components, configurations, and services in thecom/examplepackage, letting it find the controllers.
- @Configuration:标记这个类是 Spring 应用上下文里的 bean 定义来源;
- @EnableAutoConfiguration:告诉 Spring Boot 基于类路径的设置去添加 beans。比如如果 ”spring-webmvc“ 在类路径,这个注解标记这个应用作为 web 应用并且激活相应的重要的行为,比如设置好一个 DispatcherServlet(分发器)。
- @ComponentScan:告诉 Spring 看看在默认路径下(com/example)的其他组件、配置、服务,找到 controllers。
The main() method uses Spring Boot’s SpringApplication.run() method to launch an application. Did you notice that there was not a single line of XML? There is no web.xml file, either. This web application is 100% pure Java and you did not have to deal with configuring any plumbing or infrastructure.
main 方法用 Spring Boot 的 SpringApplication.run() 方法来运行一个程序。你注意到了吗,我们刚刚写过一行 XML配置吗?没有,这个应用完全没有 web.xml 文件。这个 web 应用是 100% 的 Java,并且你无需去处理任何笨重的或者基础的配置。
Build an executable JAR 运行一波
You can run the application from the command line with Gradle or Maven. You can also build a single executable JAR file that contains all the necessary dependencies, classes, and resources and run that. Building an executable jar makes it easy to ship, version, and deploy the service as an application throughout the development lifecycle, across different environments, and so forth.
你可以用 Gradle 或 Maven 的命令在命令窗口运行应用。你也可以建一个可执行的 JAR 文件,包含所有的依赖关系和类,和资源,然后运行。
建一个可执行的 JAR 包让它很容易去传输、配版本、在开发周期中作为应用、跨不同的环境来部署服务,等等。


如果用 Gradle,用 ./gradlew bootRun 来运行。或者,用 ./gradlew build 打包再运行;
用 Maven,用 ./mvnw spring-boot:run 来运行。或者,用 ./mvnw clean package 打包来运行。


最后,测服务! 要访问 “http://localhost:8080/greeting”, 然后会看到内容。
并且 greeting?name=xxx 的 xxx 会随着浏览器 URL 里的变化而变化。这说明我们的 Controller 里 @RequestParam 实现的很成功。default value 会被替代。
你也可以看到 id 属性会相应增加。这证明了,多次请求同一个 GreetingController 实例的时候,counter field 在每次被调用的时候会如想象的增加。
让人激动的一刻来临了:


好,第一个 SpringBoot 项目跑起来了。
补充一点:
而且直接从 IDEA 下载,没有从网上直接下载安装 JDK 快。下载好后,要记得配 Maven 的环境。


然后这两个地方都要选对,装好的 JDK:

